How to Start Arabic Calligraphy at Home: A Beginner's Guide
Arabic calligraphy is a beautiful and calming art form. Here's how to get started with the right tools, basic strokes and simple practice techniques.
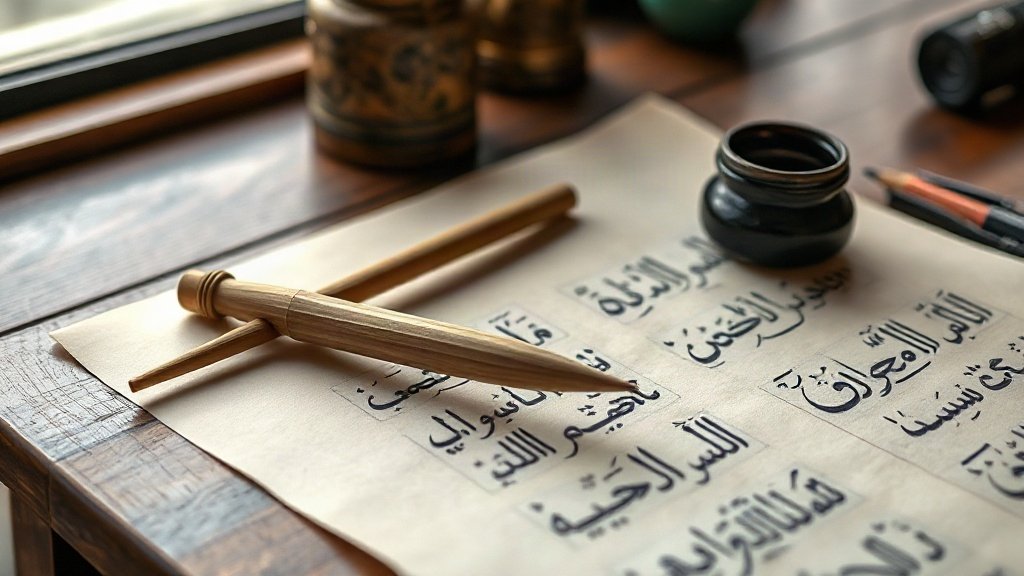
Illustration: AI-generated image
Arabic calligraphy is one of the most revered art forms in the Arab world. With a rich history dating back centuries, it transforms the written word into visual poetry. Whether you want to connect with Gulf heritage, create personalised gifts, or simply enjoy a mindful hobby, learning calligraphy at home is both accessible and rewarding.
Understanding Arabic Calligraphy
Arabic calligraphy encompasses several distinct styles, each with its own character and historical context. For beginners, the Naskh script is often recommended because of its clarity and legibility. Other well-known styles include Thuluth, with its large, flowing curves; Diwani, known for its intricate, decorative loops; and Kufic, which features bold, angular lines. While mastering any style takes years, learning the basics of Naskh provides a solid foundation.
Tools You Will Need
Traditional calligraphy uses simple, natural materials. The main tool is a qalam, a pen made from a dried reed or bamboo shaft. The tip is carved at an angle to create thick and thin strokes. You can purchase ready-made reed pens or carve your own with a sharp knife. For ink, a good-quality black ink, often made from soot and gum arabic, works best. You will also need smooth, glossy paper, which allows the pen to glide without feathering. A soft cloth is useful for wiping the pen, and a pencil and ruler help you draw light guidelines to keep your letters even.
Getting Started with Basic Strokes
Hold the qalam gently but firmly, positioning it at a consistent angle to the paper, usually around 45 degrees. The angle influences the thickness of your lines. Begin with simple vertical strokes, applying even pressure as you pull the pen downwards. Then practise horizontal strokes, which are typically thinner. Finally, work on curved strokes, which form the basis of many letters. Focus on consistency in width and smoothness rather than speed. Dedicate a few minutes each day to these fundamentals before moving on to actual letters.
Simple Practice Exercises
Once you feel comfortable with basic strokes, start practising individual letters of the Arabic alphabet. Pay attention to how each letter connects to the next. Tracing sheets are an excellent way to build muscle memory, and you can find free printable guides online. Copy short, simple words such as 'سلام' (peace) or your own name transliterated into Arabic. Avoid using a computer font as a model; instead, look at hand-written examples for a more authentic feel.
Tips for Steady Progress
Like any skill, regular practice is key. Even fifteen minutes a day will yield noticeable improvement over a few weeks. Observe professional calligraphy works, either in museums, books or online, to develop your eye for proportion and spacing. Keep a folder of your practice sheets so you can track your progress. Above all, be patient with yourself; the beauty of calligraphy lies in the journey of learning, not just the final piece.
Arabic calligraphy is more than an art; it is a meditative practice that connects you to a deep cultural tradition. With a few simple tools and a willingness to practise, you can begin this rewarding hobby from the comfort of your home.